
Stop-Loss, Take-Profit & Bracket Orders
What you'll set up
A take-profit (TP) closes your position at a target gain; a stop-loss (SL) closes it at a maximum loss. Set both at once and you have a bracket. Hyperliquid triggers them off the mark price, and you choose market (fills fast, up to 10% slippage tolerance) or limit (you cap the slippage, but it may not fill in a fast move).
Before you start: two things that change everything
1. The trigger is the mark price, not the last trade
Hyperliquid uses the mark price — a robust, manipulation-resistant index — to decide when a TP/SL fires, not the most recent print. This is deliberate: it stops a single wick on thin liquidity from triggering your stop. So set your levels against the mark, and don't panic if the "last price" briefly pokes through your level without firing.
2. Market vs limit decides fill-vs-slippage
A market TP/SL has a built-in slippage tolerance of 10% — it prioritizes getting you out. A limit TP/SL lets you set the price it works, controlling slippage, but in a violent move it can rest unfilled. The docs give the clean example: an SL to close a long with trigger $10 and limit $10 may just rest at $10 if price gaps from $11 to $9 — whereas a limit of $8 is likely to fill somewhere between $9 and $8. Aggressive limit = more likely to fill, but more slippage. That tradeoff is the whole decision.
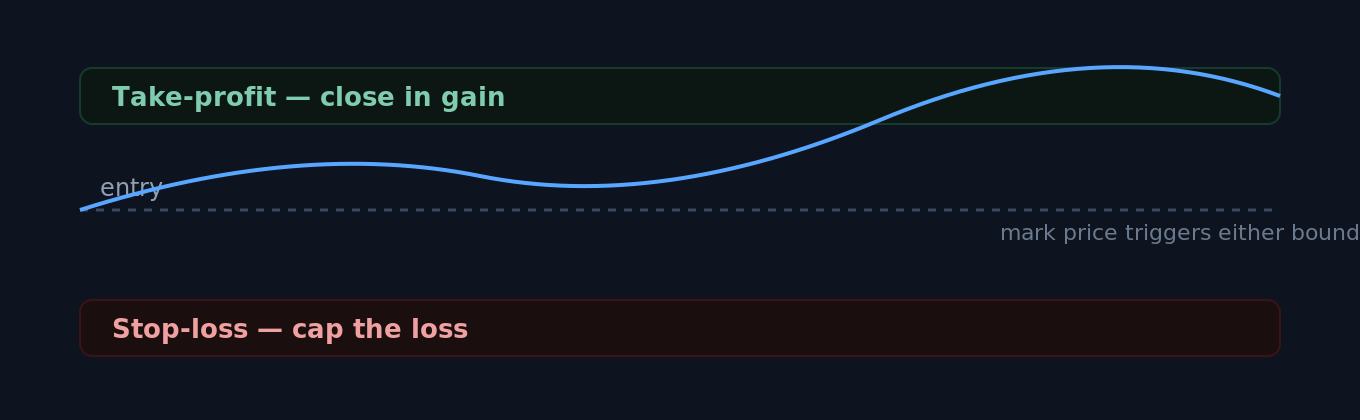
A bracket holds the position between a profit ceiling and a loss floor; the mark price decides which one fires.
Step 1 — The easy way: TP/SL from the position
Once you have an open position, set TP and/or SL directly from the position. By default these size to your entire position and aim to close all of it when triggered — the most beginner-friendly setup, with simple placement and cancellation. Note: if you manually set a fixed size instead, that order becomes fixed and won't resize if your position later changes.
Step 2 — Choose market or limit for the exit
Decide how the exit fills. Pick market if getting out matters more than the exact price (10% slippage tolerance). Pick limit and set a price if you'd rather control slippage and accept the risk it rests unfilled in a fast move. For a protective stop you usually want it to actually fire — so be wary of setting the limit too tight.
Step 3 — Brackets: attaching TP/SL to an entry order (OCO)
You can also attach TP/SL to an entry order from the order form, creating a one-cancels-other bracket. This is more powerful but has a sharp edge worth reading twice: the child TP/SL orders are placed only if the parent order fully fills (or is partially filled and then canceled for insufficient margin). If your entry only partially fills and you cancel it, the child TP/SL are canceled too — leaving your filled size unprotected. For a partial fill you keep, set a fresh TP/SL on the resulting position manually.
Step 4 — Verify the orders are live
After placing, check your open orders and the position panel: your TP and/or SL should be listed against the position. You can also drag them on the TradingView chart to adjust — just note that dragging an order to a level that would execute immediately throws an error (a guard against fat-finger mistakes). Confirming the order is resting is how you know your protection is actually on.
Common mistakes that leave you unprotected
The mistake | What to do instead |
|---|---|
Watching last price and thinking your stop "should have" fired | TP/SL trigger on the mark price. Reference the mark, not the last trade, when you set and judge levels. |
A tight limit stop that rests instead of filling | In a fast move a limit SL can sit unfilled. Use a market SL, or a limit with enough room to fill, when getting out is the priority. |
Assuming a bracket protects a partial fill | If the parent partially fills and you cancel it, the child TP/SL cancel too. Re-set TP/SL on the position you actually hold. |
Fixed-size TP/SL after changing position size | A manually fixed size won't resize with the position. Re-check coverage after you add or trim. |
Stop so tight it triggers on normal noise | Place the stop beyond routine volatility for the asset, sized by your risk plan — not one tick away. |
The point of all this A stop-loss isn't about being right — it's about making your worst case survivable. Decide the loss you'll accept before you enter, then let the order enforce it so you're not negotiating with yourself mid-trade.
Where to go next
Risk management core: sizing, the 1% rule, EV — where your stop level comes from
Market vs limit orders — the order-type basics underneath TP/SL
Margin & leverage management — how liquidation interacts with your stop
Sources
Take profit and stop loss orders (TP/SL) — Hyperliquid Docs — mark-price trigger, market 10% slippage tolerance, limit-price slippage control + example, position vs parent-order (OCO) behavior, partial-fill cancellation rule, chart dragging.
Robust price indices — Hyperliquid Docs — what the mark price is and why it's used.
Further Reading
Hyperliquid in 6 Minutes: The Trader's Cheat Sheet from CEX to On-Chain Perps
If you can read a Binance order book, you can already trade on Hyperliquid — but the account underneath looks nothing like one. Here is what changes, and what to check first.
Leverage on Hyperliquid: How Far Are You From Liquidation, Really?
Higher leverage shortens your distance to liquidation. Here is how Cross and Isolated margin behave on Hyperliquid, what the margin ratio actually measures, and when to dial leverage back.
Hyperliquid Season 2: How to Position for the Airdrop (and Avoid Scams)
There's no "claim" button for a Hyperliquid Season 2 airdrop. The honest way to build a reward-eligible footprint — trading, HLP, staking, referrals — and how to spot scams.