
Risk Management Core: Sizing, the 1% Rule & EV
Core thesis: survival is the strategy
You can't control whether a trade wins. You can control how much it costs when it loses. That asymmetry is the whole foundation: a trader who risks a small, fixed slice per trade can be wrong many times in a row and still be in the game, while a trader who sizes by conviction is one bad sequence from zero. Everything below is machinery for keeping individual losses small enough that no single trade — and no normal losing streak — can end you.
The mechanism: size from the stop, not the conviction
The common mistake is to pick a position size first and place a stop afterward. Reverse it. Decide two things up front — the fraction of your account you'll risk, and where your stop sits — and the position size falls out of them:
position size = (account × risk %) ÷ distance to stop e.g. $10,000 account × 1% = $100 risk; stop 5% away → $100 ÷ 0.05 = $2,000 position
The 1% rule just fixes the first input: risk no more than ~1% of equity on any single trade (many use 0.5–2% depending on temperament). The point isn't the exact number — it's that risk per trade is decided in advance and held constant, so a wider stop automatically means a smaller position, never a bigger loss.
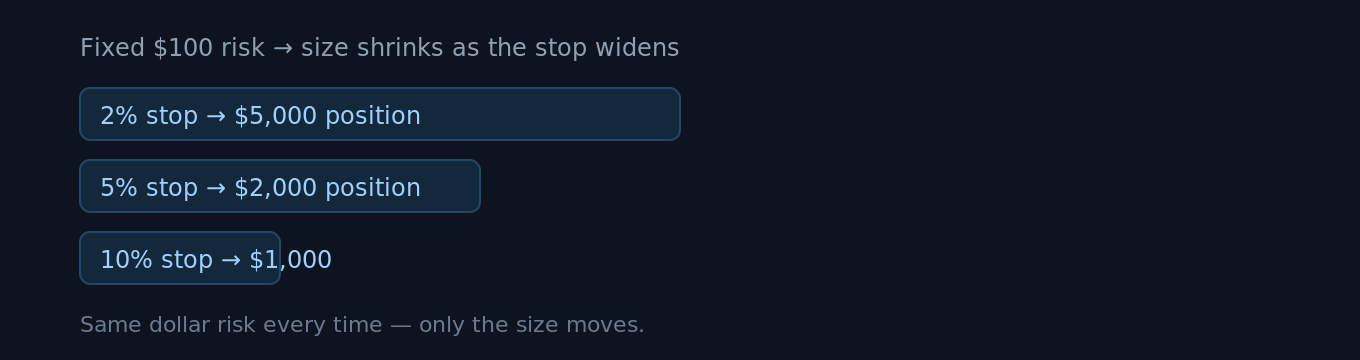
Risk is the constant; position size is the output. This is what "size from the stop" means in practice.
Leverage is not risk — and that confusion is expensive
On a perp venue like Hyperliquid it's easy to equate high leverage with high risk. They're not the same thing. Leverage sets margin efficiency; risk is set by your stop distance and size. You can run 10× leverage with a tight stop and tiny real risk, or 2× with a far stop and large real risk. What leverage does change is your liquidation price — and the rule there is simple: your stop-loss should trigger well before liquidation would. If liquidation is your stop, you've outsourced your risk decision to the exchange's margin engine, which is the worst place for it.
Observation vs interpretation Observation: higher leverage moves your liquidation price closer to entry. Interpretation: that's only dangerous if your stop isn't already inside it. Keep the stop as the thing that closes the trade — never the liquidation.
Expected value: why a 40% win rate can still print
Sizing keeps you alive; expected value tells you whether the strategy is worth running at all. Measure trades in R — multiples of the amount you risked. Risk $100, make $200, that's +2R; hit your stop, that's −1R. Expected value per trade is:
EV = (win rate × avg win in R) − (loss rate × avg loss in R) 40% wins at +2R, 60% losses at −1R → (0.4 × 2) − (0.6 × 1) = +0.2R per trade
That positive number is the edge. Notice you can be wrong most of the time and still come out ahead if your winners are larger than your losers. The reverse is also true: a 70% win rate bleeds money if the occasional loss is −5R. This reframes the goal from "be right" to "keep average win-size meaningfully above average loss-size."
Win rate | Avg win / loss | EV per trade |
|---|---|---|
40% | +2R / −1R | +0.20R |
50% | +1.5R / −1R | +0.25R |
70% | +1R / −3R | −0.20R |
The drawdown math nobody wants to see
The reason small, fixed risk matters is that losses and the gains needed to recover them are not symmetric. A drawdown of X% requires a larger % gain just to get back to even:
Drawdown | Gain needed to recover |
|---|---|
−10% | +11% |
−25% | +33% |
−50% | +100% |
−75% | +300% |
Lose half and you need to double just to break even. This is why "don't lose big" beats "win big" — and why pros obsess over the size of losses far more than the size of wins.
What to watch, and when to size down
Three things quietly break the framework even when each trade looks disciplined:
Correlation turns many bets into one
Five longs on five different alts during a market-wide move is not five 1% risks — it's closer to one 5% risk, because they'll fall together. Count correlated positions as a single exposure when you size.
Holding costs accrue
On perps, funding is paid periodically; a position held through many funding intervals carries a cost beyond your stop. For longer holds, factor it in rather than discovering it later.
Streaks are normal — plan for them
Even a positive-EV strategy has losing runs. At 1% risk, a rough patch is a dent; at 10% risk, it's an account. When conviction is low or markets are choppy, the right move is usually to size down, not to press.
When to act, when not to Act when a setup fits your plan and the sizing math leaves your worst case survivable. Don't act when the only way to make a trade "worth it" is to risk more than your rule allows — that's the exact moment the rule is protecting you.
Where to go next
Stop-loss, take-profit & bracket orders — turn your risk number into a live order
Margin & leverage management — liquidation vs your stop, in detail
Live funding tool — the holding cost in your EV math
Sources
Position sizing, the 1% rule, R-multiples, expected value, and drawdown-recovery math are standard, widely-taught trading risk concepts (arithmetic shown is self-contained).
Liquidations — Hyperliquid Docs & Funding — Hyperliquid Docs — platform mechanics referenced (liquidation price, periodic funding).
Further Reading
Hyperliquid in 6 Minutes: The Trader's Cheat Sheet from CEX to On-Chain Perps
If you can read a Binance order book, you can already trade on Hyperliquid — but the account underneath looks nothing like one. Here is what changes, and what to check first.
Leverage on Hyperliquid: How Far Are You From Liquidation, Really?
Higher leverage shortens your distance to liquidation. Here is how Cross and Isolated margin behave on Hyperliquid, what the margin ratio actually measures, and when to dial leverage back.
Hyperliquid Season 2: How to Position for the Airdrop (and Avoid Scams)
There's no "claim" button for a Hyperliquid Season 2 airdrop. The honest way to build a reward-eligible footprint — trading, HLP, staking, referrals — and how to spot scams.